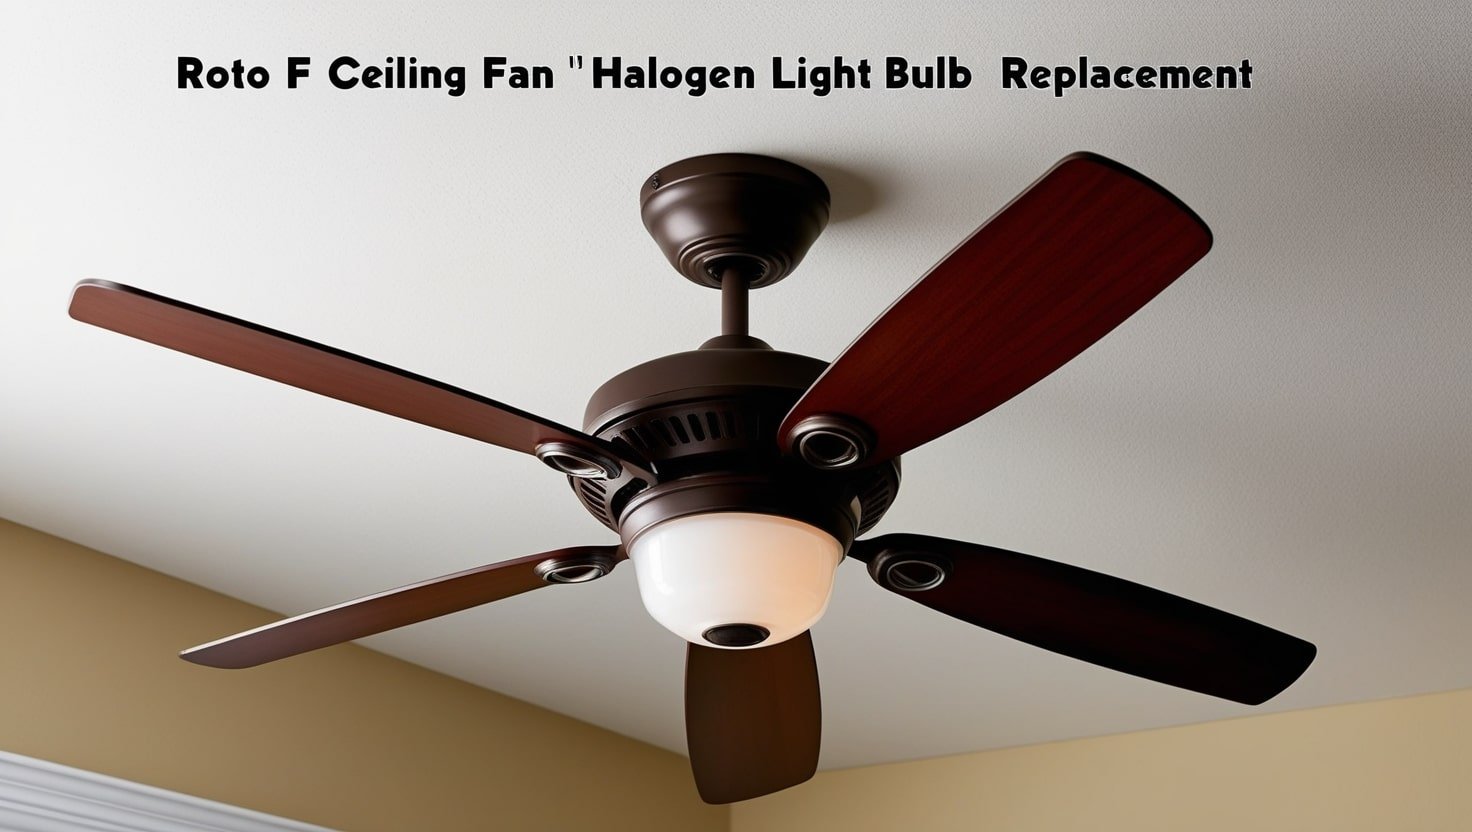
When it comes to maintaining your ceiling fan’s functionality and aesthetic appeal, understanding the process of Roto F Ceiling Fan Halogen Light Bulb Replacement Replacement is essential. A well-lit room with a properly functioning fan can enhance your home’s atmosphere, and knowing how to replace the halogen light bulb is key.
If your ceiling fan is equipped with a halogen bulb, this task will help keep it running smoothly, ensuring light and air circulation work perfectly. In this article, we’ll walk you through the importance of replacing the halogen light bulb and provide you with easy-to-understand steps to do so safely and efficiently.
Why Replace Your Roto F Ceiling Fan Halogen Light Bulb Replacement?
Over time, the halogen light bulb in your Roto F Ceiling Fan Halogen Light Bulb Replacement Replacementsystem will wear out. This can result in dimming lights or even a complete failure to turn on. Halogen bulbs are known for their bright, white light, but they have a shorter lifespan compared to other types of bulbs, especially in ceiling fans where they are often used in combination with the fan motor.
In addition to the lighting issue, replacing the bulb regularly ensures that you are preventing potential safety hazards. A halogen bulb that’s been in use for too long may overheat or cause damage to the fixture. Therefore, the Roto F Ceiling Fan Halogen Light Bulb Replacement Replacement is necessary not just for lighting, but for safety and performance as well.
One small step at a time Manual for Roto F Rooftop Fan Glowing light Bulb Replacement
Now that you’re prepared, let’s dive into the process of Roto F Ceiling Fan Halogen Light Bulb Replacement Replacement. Follow these steps carefully to replace the halogen bulb and restore the lighting in your ceiling fan.
Step 1: Turn Off the Power
Before you do anything, safety is paramount. Switch off the ceiling fan and the light fixture at the wall or the main power source. If your fan is connected to a separate circuit breaker, flip that off to ensure there’s no power running to the fan. This is a critical step in any Roto F Ceiling Fan Halogen Light Bulb Replacement Replacement task, as it helps prevent electrical accidents.
Step 2: Remove the Light Fixture Cover
When the power is off, you can start via cautiously eliminating the light cover or shade. Some fan models may have a decorative cover that needs to be unscrewed, while others might have clips or hooks.Utilize the fitting device to relax and eliminate the cover. Keep it aside safely to avoid damaging it while you work on the Roto F Ceiling Fan Halogen Light Bulb Replacement Replacement.
Step 3: Unscrew the Faulty Bulb
In the wake of eliminating the cover, you’ll see the halogen bulb. Carefully unscrew it from the socket. Contingent upon the plan, you might have to wind the bulb counterclockwise to deliver it. Be gentle but firm, as halogen bulbs can sometimes be tightly fitted. This step is crucial in the Roto F Ceiling Fan Halogen Light Bulb Replacement replacement process, as improper removal can cause damage to the socket or bulb.
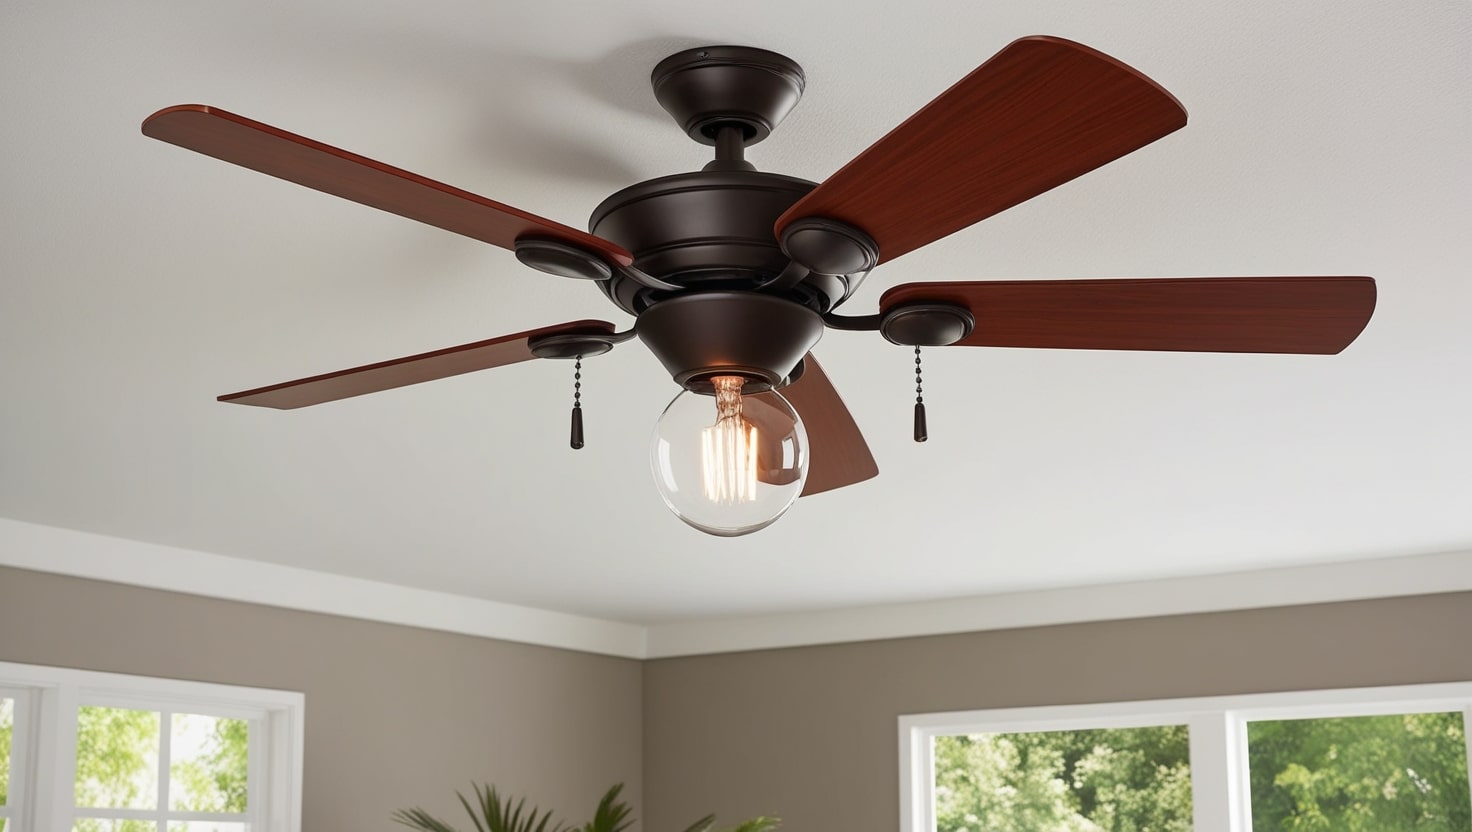
Step 4: Insert the New Bulb
Take the new halogen bulb and cautiously embed it into the attachment. Be cautious not to touch the bulb’s glass with your bare fingers, as oils from your skin can cause it to overheat or burn out quickly. This is an important consideration when performing any Roto F Ceiling Fan Halogen Light Bulb Replacement Replacement.
Step 5: Reattach the Light Cover
Once the new bulb is in place, carefully reattach the light fixture cover or shade. Be sure it fits securely and is not misaligned. This will protect the bulb from damage and help the light fixture look neat and finished. With this step, you’re almost done with your Roto F Ceiling Fan Halogen Light Bulb Replacement .
Step 6: Turn the Power Back On
Now that the bulb is replaced, it’s time to restore the power. Go to your electrical switch or the power switch and walk out on. Switch the ceiling fan and light back on to ensure the bulb is functioning correctly.In the case of everything looks great, your Roto F Roof Fan Incandescent lamp Bulb Substitution is finished!
Normal Issues with Roto F Roof Fan Incandescent lamp Bulb Replacement
Even with careful replacement, there are some common issues that might arise during or after a Roto F Ceiling Fan Halogen Light Bulb Replacement Replacement. It’s important to troubleshoot these to ensure your fan and light function as expected.
Burned-Out Bulb
If your light still doesn’t work after the replacement, it could be that the bulb was faulty from the start. Test the new bulb in another fixture to confirm it works properly. If it doesn’t, you may need to purchase another bulb.
Loose Connections
If the bulb lights up but flickers or doesn’t stay on, there could be a loose connection. Check the wiring around the bulb socket to ensure it’s properly connected. This issue may require professional help if you are not comfortable working with electrical components.
Incorrect Bulb Type
Another potential issue with the Roto F Ceiling Fan Halogen Light Bulb Replacement Replacement is using the wrong bulb type. Make sure you are using the correct wattage and style of halogen bulb for your specific ceiling fan model. Utilizing a contrary bulb can prompt terrible showing or even harm the fan.
Conclusion
A Roto F Ceiling Fan Halogen Light Bulb Replacement Replacement is a simple yet important task for anyone looking to maintain their ceiling fan’s lighting and safety. By following the steps outlined in this guide, you can ensure that your fan continues to perform optimally, ensure both air circulation and lighting for your space. Remember to turn off the power, use the right tools, and follow the instructions carefully to avoid issues.
Taking care of your ceiling fan with regular maintenance, including bulb replacements, will extend its lifespan and maintain its functionality. So, don’t wait too long to replace that halogen bulb your home will thank you for the extra attention to detail.